Cut the Chasuble How to Sew a Chasuble?
Cut the Chasuble. Seamstress Lynne Green is going to demonstrate how to sew a chasuble as an important part of a vestment set. Cutting the chasuble is the first step.
| It is not hard to make a chasuble as long as you follow these step-by step instructions. The first important step is to cut the chasuble. The fabric you choose will be the most critical element of success for your vestment set. Buy a rayon material that is 62 inches wide and specifically designed for vestment sets. |  |
You will need four yards of this material to make the chasuble, stole, veil, burse and maniple.
Also, you’ll find a lined cutting board is indispensable for cutting out your material. Not only will it protect your table, but it will also help you keep your cutting lines straight. My mom uses a Wright’s Pattern Cutting Board that she bought at a nearby fabric store for about $12 American dollars.
Cut the Chasuble
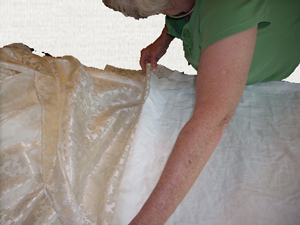 | To cut the chasuble, fold your material lengthwise on your cutting table. Make sure the crease is exactly in the center of the length of the fabric. Use the design to determine whether your fold is straight. |
| Lay out your pattern on your fabric, with the neck side against the fold of the fabric. Leave an inch and a half around the edges of the pattern. Now you’re ready to cut it out. Cut it an inch and a half all the way around to allow for for the seam. | 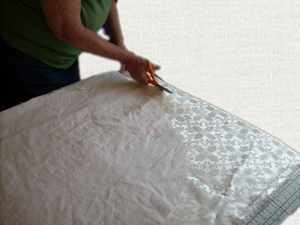 |
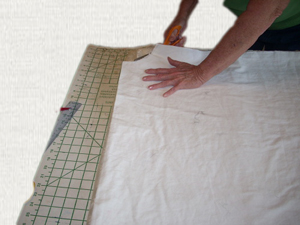 | Then cut the chasuble neck, following the pattern. |
| Now unfold the fabric and lay it out flat on your cutting board. Before you cut the chasuble neck, take time to make certain your neck hole is centered evenly on the fabric. An easy way to determine this is by lining up the designs on the fabric with the lines on the cutting board. Is it even? Then you have cut the neck properly. |  |
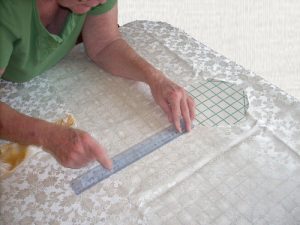 | Now it’s time to add the banding. Using your ruler, measure down from the neck opening nine inches. |
| Using a light colored piece of chalk (My mom always uses peach), make a very small mark on your fabric denoting where the nine inch mark is. Be careful not to make your mark too big or in too bright of a color. You may not be able to remove the mark later. A small, light mark can be covered by the banding. A large, bright one may not be. Then from the center sides of the neck, measure out nine inches both on the right and the left. Again, mark these lightly with your piece of chalk. | 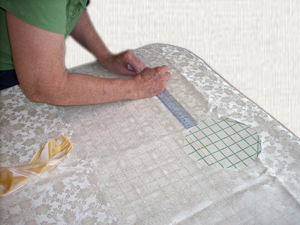 |
 | Lay out your banding, using the chalk marks as your guide. The center of each piece of banding should be directly over the chalk mark. When you cut your banding, make sure you cut the banding at least one inch past your nine-inch mark on the outside edge. |
| For the center V of the chasuble, fold one piece of the banding on top of the other, following the line of the design. Do not draw a line on banding unless you want it there forever!. | 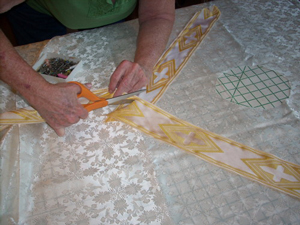 |
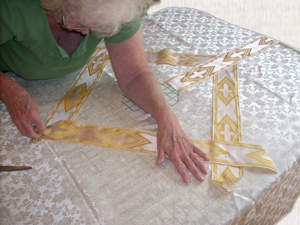 | Then lay the top piece of the center banding over the two pieces. Now it’s time for the shoulder seams. For the shoulder seams of the banding, you will need to do the same thing. You will need to fold your top piece of banding and then baste it in place. Repeat this process for the other side of the chasuble. |
Pin your banding in place at the center of the banding. You’ve cut the chasuble. Now it’s time to sew it!
Chasublesvn.com to share this one we can refer. Thanks
Customer Support
E-mail:chasublesvn@gmail.com
Phone:+84 977 019 792 ( Skype, WhatsApp, Viber)
Full name: NGUYEN VAN THAP from Viet Nam
⇒⇒ Related Posts: All Chasuble Photos
⇒⇒ Related Posts: All products in store
⇒⇒ Related Posts: Where to buy the best Vestments.
